
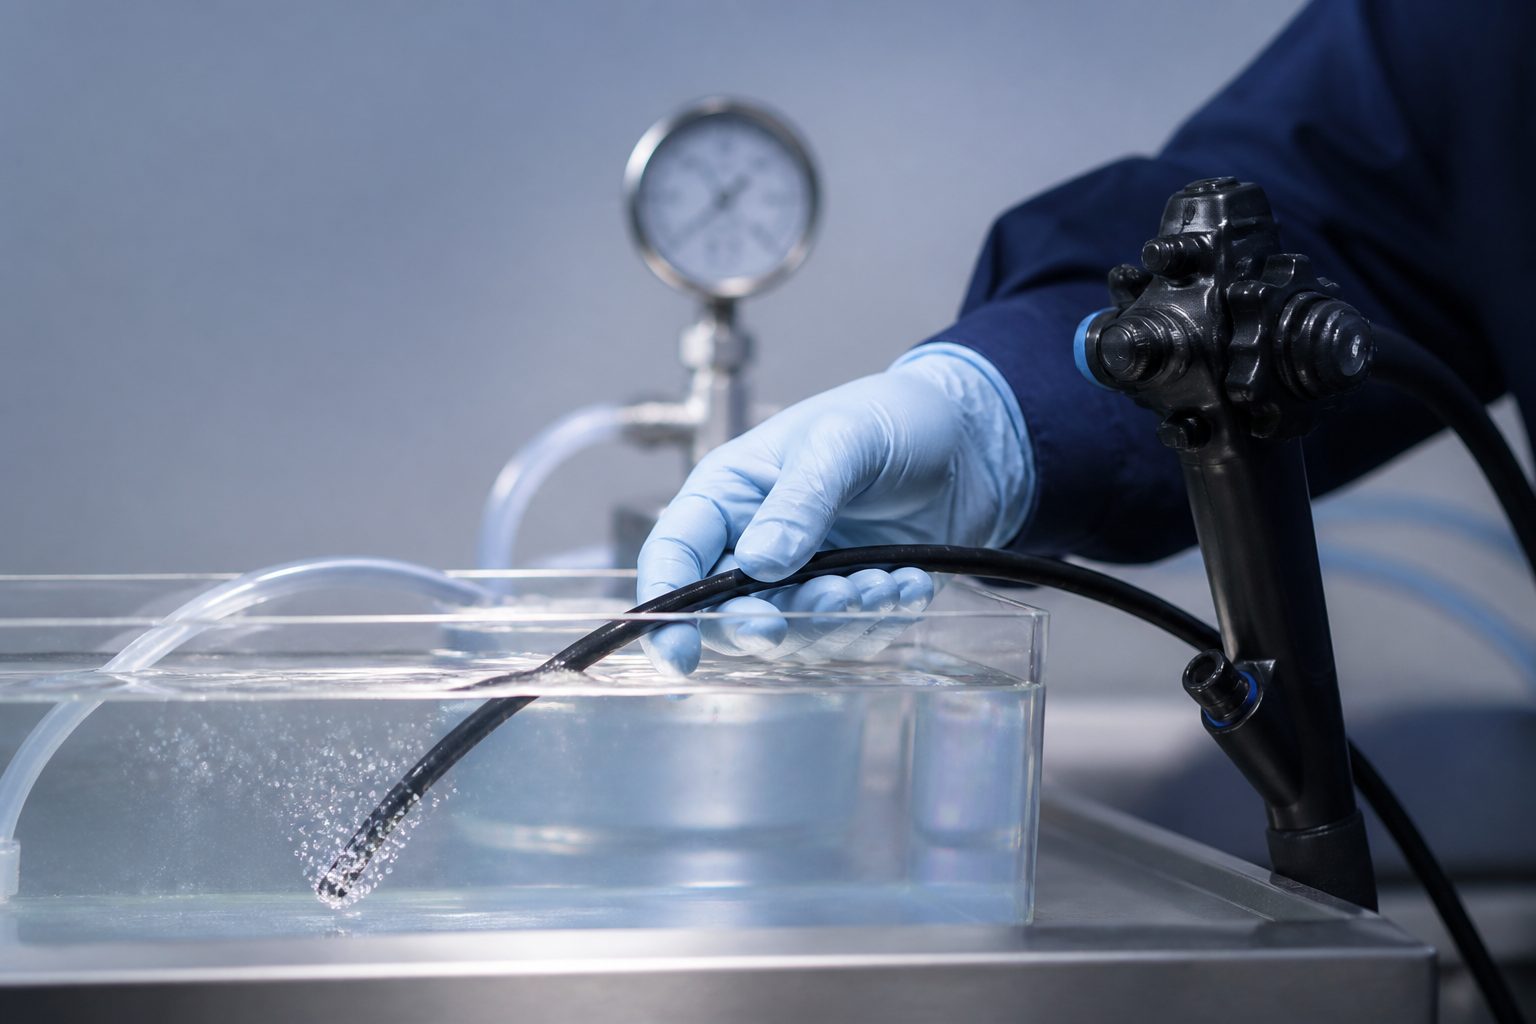
The scope fails a leak test in reprocessing
Endoscope Leak Testing and Leak Repair After a Scope Fails in Reprocessing
A pressurized leak test that fails means the outer seal of the scope has been breached somewhere. The device needs to come off the schedule before it sees another reprocessing cycle, not after.
- Leak test before and after every repair
- Bending rubber, sheath, and distal seal work
- Free evaluation and a written quote first
- Pickup in Southern California, mail-in nationwide
Get a Free Repair Quote
Tell us what failed and we will send a written quote before any work begins. No charge for the evaluation, and no purchase order needed to get one.
Quote before any work
You approve a written quote before a technician touches the scope.
Free evaluation
We diagnose the failure and price the repair at no charge, even if you decline.
We come and get it
Pickup and delivery across Southern California, mail-in service everywhere else.
Independent, not the OEM
All major manufacturers serviced, without OEM exchange pricing.
Symptom to cause
What a Failed Leak Test Is Actually Telling You
The pattern of the pressure drop narrows the breach down before anyone opens the scope. Find the behavior your tester showed you.
What you see
Pressure holds at rest, then drops as soon as the tip is articulated
Likely cause
A pinhole in the bending rubber that only opens when the section flexes. This is the most common breach on any high volume GI scope.
What we do
Replace the bending rubber, rebind both ends, and retest through the full articulation range in every direction rather than in the neutral position.
What you see
Pressure falls steadily and immediately from the moment the tester builds
Likely cause
An open breach in the insertion tube outer sheath, usually a bite point, a cart crush, or an accessory puncture from the inside.
What we do
Locate the breach under water, replace the affected tube section, and pressure test the rebuilt assembly before any channel or optical work begins.
What you see
Bubbles rise from the distal end during a submerged test
Likely cause
A failed distal cap seal or a broken adhesive joint at the objective housing, often after a forceful accessory pass or a drop.
What we do
Strip and reseal the distal tip, replace the cap seal, verify the optics are dry, and confirm the seal under sustained pressure.
What you see
Bubbles come from the control body, the umbilical, or the light guide connector
Likely cause
A cracked housing, a worn suction or air and water valve seat, or a failed O ring at the venting connector.
What we do
Open the control section, replace the failed seal or housing component, and leak test the complete scope rather than only the section that bubbled.
What you see
One tech reproduces the failure and the next one cannot
Likely cause
A slow leak through a small working channel puncture that needs a longer hold before enough pressure escapes to register.
What we do
Run an extended hold under water, dye check each channel individually, and replace the punctured liner section.
What you see
The tester never builds pressure at all on any scope
Likely cause
The leak tester itself has a failed pump line, a split hose, or a perished connector gasket. The scope may be sound.
What we do
Verify the tester against a scope known to be sealed before sending anything out. If the scope is the fault, we locate the breach and quote the repair in writing.
What Not to Do After a Scope Leak Shows Up
Most total losses we see were survivable when the tester first failed. What happened in the next twenty minutes is what decided it.
- Do not reprocess a scope that failed a leak test. Immersion after the outer seal is breached drives water and high level disinfectant into the control body, and that turns a bending rubber job into fluid invasion damage that is often unrecoverable.
- Do not release the tester pressure while the scope is still submerged. As internal pressure falls below the water outside, the breach draws water inward. That single habit floods more scopes than any other step in reprocessing.
- Do not run the test again and again to see whether the result repeats. Each pressure cycle works the breach wider, and a pinhole you could have patched becomes a section replacement.
- Do not tape, glue, or seal a pinhole to get through the day's caseload. A field patch does not survive reprocessing pressure, and it hides the breach from whoever opens the scope later.
- Do not store a leaking scope coiled tightly in its case or hanging wet. Keep it dry, hanging loose or laid flat, tagged out of rotation, and away from the reprocessing sink until it ships.
Why a Failed Leak Test Is a Stop Work Event, Not a Note for Later
The leak test is the only routine check in your department that looks at the sealed boundary between the inside of a flexible scope and everything you are about to submerge it in. When it fails, the boundary is open. Everything downstream of that point, the wash, the enzymatic soak, the automated reprocessor cycle, is now pumping fluid into a device that was designed to keep fluid out.
This is why the cost curve on a leak is so steep. A pinhole in the bending rubber caught the same shift is a contained repair. The same pinhole after one full reprocessing cycle can mean corroded angulation wires, a fogged image bundle, and a control body full of chemistry. The failure did not get worse on its own. The next cycle made it worse.
So the first action is procedural rather than technical. Tag the scope, keep it dry, and take it out of the rotation before anyone reaches for it. Then look at the rest of the symptoms and failure modes we repair to see whether what you are holding is only a leak or the first sign of something further along.
Dry and Wet Leak Test Methods, and What Each One Will Show You
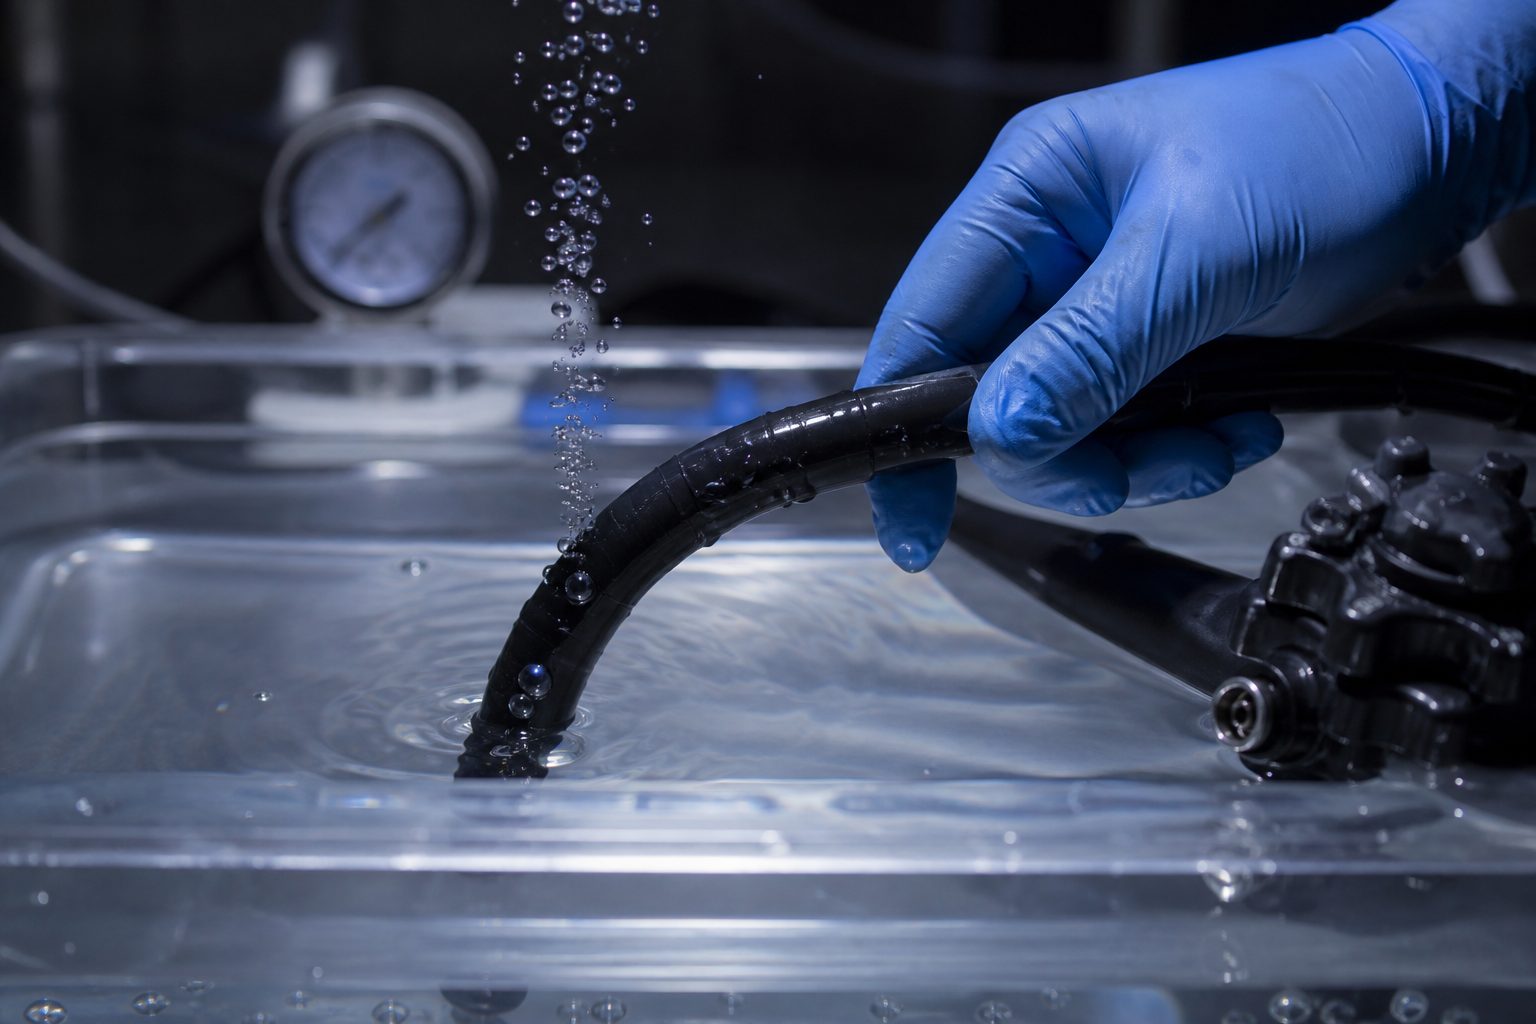
A dry test pressurizes the scope and watches the gauge. It tells you that pressure is escaping and roughly how fast, which is genuinely useful, but it will not tell you where. It is the right first test because it is fast, it is repeatable, and it does not put a compromised scope in water.
A wet test submerges the pressurized scope and looks for a bubble stream. It localizes the breach, which is what a repair technician needs. It also carries the risk described above, because a submerged scope that loses pressure will pull water back through the same hole the bubbles came out of. If you run one, hold pressure the entire time the scope is under, and lift it clear before venting.
A leak that only appears under articulation deserves its own note. The bending rubber is the thinnest part of the sealed envelope, and a fatigue crack there stays closed at rest. Testers who only check in the neutral position pass scopes that are already breached. Articulate through the full range, in all four directions, while the gauge is under pressure. That one change catches faults weeks before they become steering and deflection problems.
Where Scope Leaks Start on the Devices You Run Every Day
Breaches are not distributed evenly along a scope. They cluster at the places that flex, the places that get bitten, and the places that get handled. Knowing the clusters shortens the conversation when you call.
- Bending rubber, from fatigue cycling and from contact with the distal cap edge
- Insertion tube at the patient end, from bite blocks that slipped and from cart and door crush
- Working channel liner, punctured from the inside by a forceps tip or a stiff guidewire
- Distal cap adhesive joint, opened by thermal cycling and aggressive brushing
- Suction and air and water valve seats in the control body, worn out of round
- Light guide connector and the venting cap O ring, hardened and no longer sealing
What Happens After Your Endoscope Leak Repair Is Approved
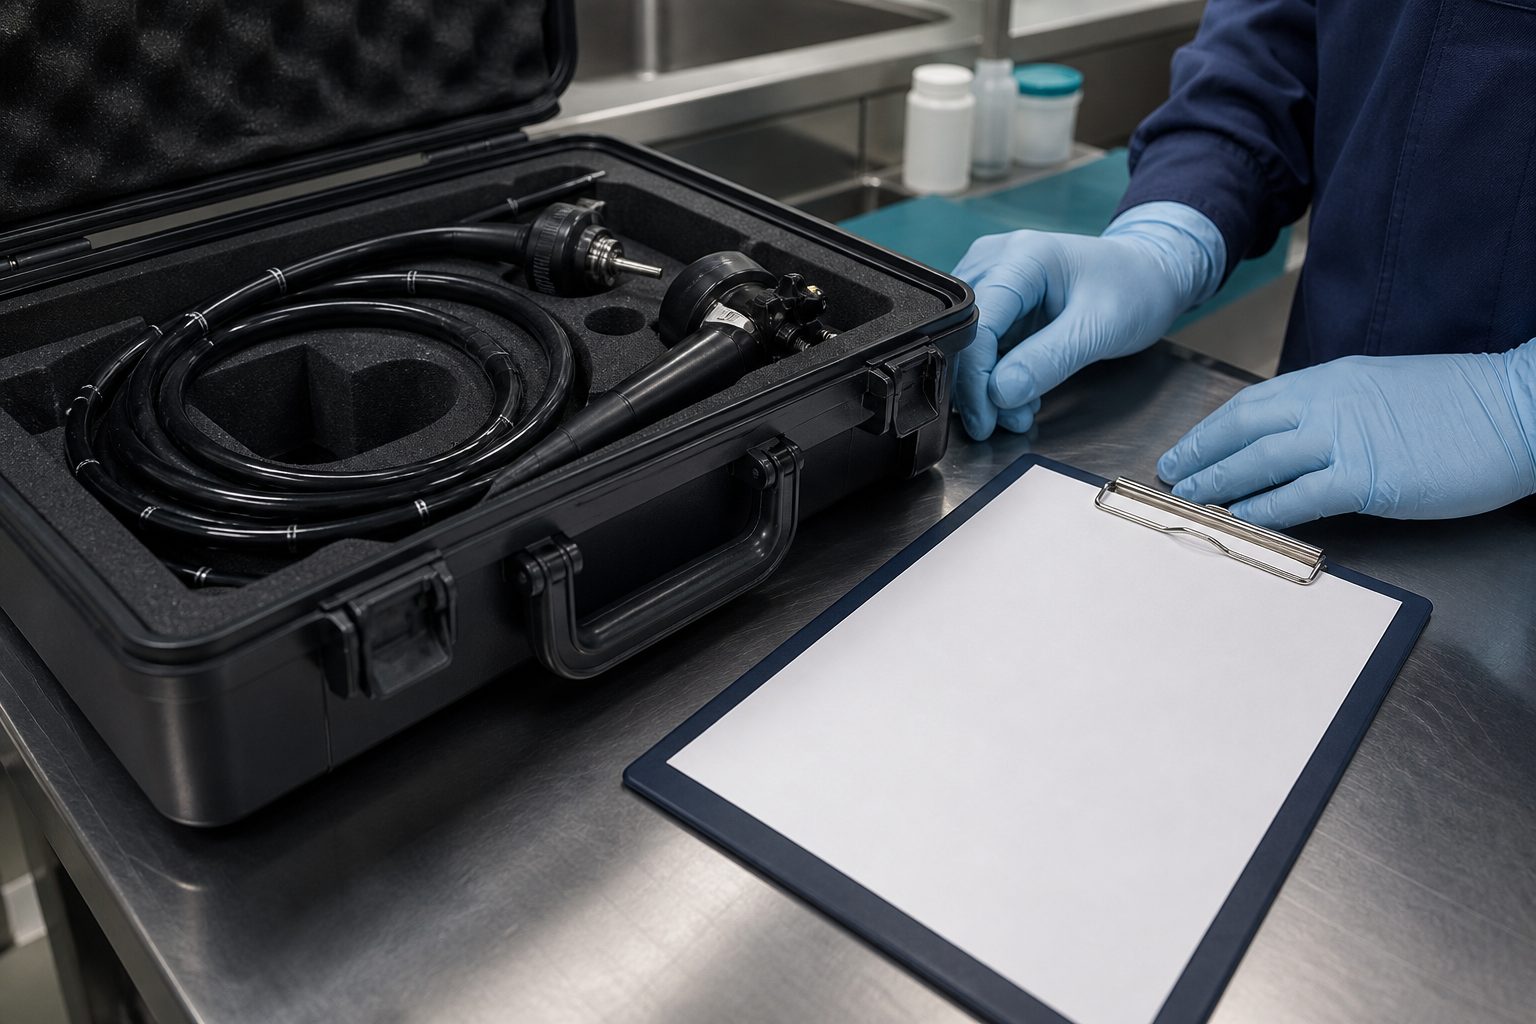
Every flexible scope that arrives is leak tested on our bench before anything else happens, including scopes sent to us for an unrelated fault. We find the breach, document it, and quote the repair in writing along with anything else the evaluation turned up. You approve the line items you want. Nothing gets opened on a maybe.
The repair itself depends on where the breach is. Bending rubber replacement, insertion tube section replacement, distal cap resealing, valve seat machining, and connector seal replacement are all routine flexible scope bench work. The scope is pressure tested again after reassembly, then checked for channel patency, articulation range, and image quality before it goes back in the case.
If the breach has been open long enough to let fluid in, the conversation changes and we will tell you plainly. Departments running high volume colonoscope service and duodenoscope work tend to see leaks first and most often, simply because those devices work the hardest.
How it works
How Endoscope Leak Repair Works Once the Scope Reaches Us
Evaluation first, written quote second, and the decision belongs to your department.
Tell us what failed
Send the manufacturer, model, and what you are seeing. A photo of the damage helps but is not required.
We collect the scope
Courier pickup across Southern California, or ship the device in to our bench from anywhere in the country.
You get a written quote
We evaluate the device, document the failure, and price the repair. Nothing proceeds until you approve it.
Repaired, tested, returned
The device is repaired, leak and function tested, and returned with documentation for your records.
Questions we get
Leak Testing Questions From Sterile Processing Teams
Can you repair a scope that already failed a leak test?
The scope failed a leak test but we already ran it through the AER. Is it scrap?
Why does the scope only leak when we articulate the tip?
Should we keep leak testing the scope to confirm the result before we call?
Do you leak test scopes that were sent in for something else?
Several scopes started failing the leak test at once. What does that mean?
Other Flexible Endoscope Failures We Repair
A breach rarely arrives alone. These are the faults that most often show up on the same device.
Fluid Invasion
Fluid has entered the scope body or control section
Cracked Distal Lens
The image is starred, hazy, or partially blacked out
Bent Insertion Tube
The insertion tube is kinked, buckled, or will not straighten
Angulation Loss
The tip will not reach full deflection or feels loose
Dim Illumination
The field is dim even at full light source output
Channel Blockage
Air or water will not pass, or insufflation is weak
Biopsy Port
The biopsy port leaks, sticks, or will not seal
Send Us the Scope That Failed a Leak Test
Tell us the manufacturer, the model, and how the tester behaved. We will tell you what it costs to fix before anyone opens it.
Monday to Friday, 8:00 AM to 5:00 PM Pacific
Saturday and Sunday, closed
Mail-in repairs received any day
Serving Southern California with pickup and delivery, and the rest of the country by mail-in.